Today’s Question: What, exactly, is installed on my computer when I install Lightroom? Is the operation of Lightroom in the cloud or on my computer? I ask for two reasons. 1) Lightroom Classic really bogs down my computer, and I have to reboot after an hour or two of work. Will this happen with Lightroom? 2) The Adobe website says I cannot work in Lightroom on two separate devices simultaneously (unlike Lightroom Classic). Does this mean that the operation of Lightroom is happening in the cloud and not on my computer?
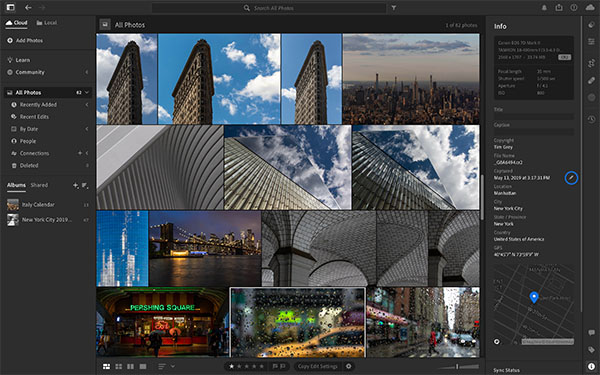
Tim’s Quick Answer: Both Lightroom and Lightroom Classic are installed and run from your computer. The “cloud” aspect of Lightroom relates to cloud-based storage and a degree of processing in the cloud, such as to enable advanced search features. Both versions of Lightroom therefore have similar system requirements and have similar performance.
More Detail: The reference to the cloud in the context of Lightroom (rather than Lightroom Classic) tends to cause some confusion. In fact, that same confusion was quite common when the Adobe Creative Cloud plans were first introduced. There is a common misunderstanding that the software runs in the cloud rather than on your computer, but that is not the case.
The desktop applications available through an Adobe Creative Cloud subscription get installed and are run from your computer. That means they will consume system resources such as the processor, memory, and hard drive space. If Lightroom Classic doesn’t perform well on your computer, there’s a good chance that Lightroom will also not perform very well, though there are some variables here.
First, I recommend reviewing the system requirements for the software you’ll be using, to make sure your computer will support the software. For example, you can find the system requirements for Lightroom and Lightroom Classic here:
Adobe Lightroom:
https://helpx.adobe.com/lightroom-cc/system-requirements.html
Adobe Lightroom Classic:
https://helpx.adobe.com/lightroom-classic/system-requirements.html
Assuming your computer meets or exceeds the system requirements, I recommend making sure you have a good amount of hard drive space available. In general, I recommend having at least 10GB of free hard drive space, but more can be helpful.
With Lightroom Classic it can also be helpful to ensure the catalog has been optimized. If you use the built-in catalog backup feature in Lightroom Classic you’ll have the option during the backup to have the catalog scanned for errors and to optimize the catalog. I recommend enabling both of these options.
If you continue to have issues with performance in Lightroom Classic you may want to reset the preferences. To do so you can go to the General tab of the Preferences dialog, hold the Alt/Option key, and click the “Reset all preferences and relaunch” button that will appear. You may also want to uninstall and reinstall Lightroom Classic to see if that helps.
As for running more than one instance of Lightroom, this is indeed possible because there is not a central catalog to manage. With Lightroom Classic you can only have one instance open at a time because the catalog can only be opened on one computer at a time.
![]()